In Exchange, whether it is Exchange 2013 or 2016 and the new version 2019, you can move the transport database off the C:\ drive to another drive so you don’t hit back pressure firstly and run out of space.
You can find the script to move the database in the scripts folder in the default Exchange installation directory, for example:
- C:\Program Files\Microsoft\Exchange Server\V15\Scripts (if its Exchange 2010, it will be V14)
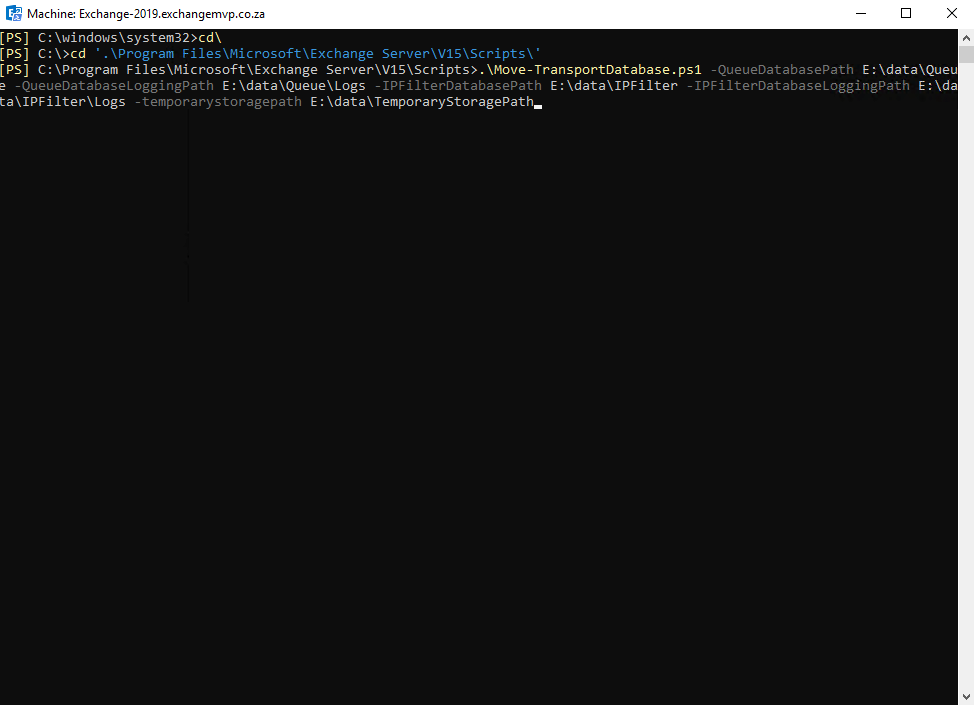
To move the logs and database you can run the following PowerShell command:
- .\Move-TransportDatabase.ps1 -QueueDatabasePath E:\data\Queue -QueueDatabaseLoggingPath E:\data\Queue\Logs -IPFilterDatabasePath E:\data\IPFilter -IPFilterDatabaseLoggingPath E:\data\IPFilter\Logs -temporarystoragepath E:\data\TemporaryStoragePath
The above command will move it all to the E:\ drive in my instance, yours might be a different letter.
The command takes a few minutes to run and then you should see a message saying it was successful:
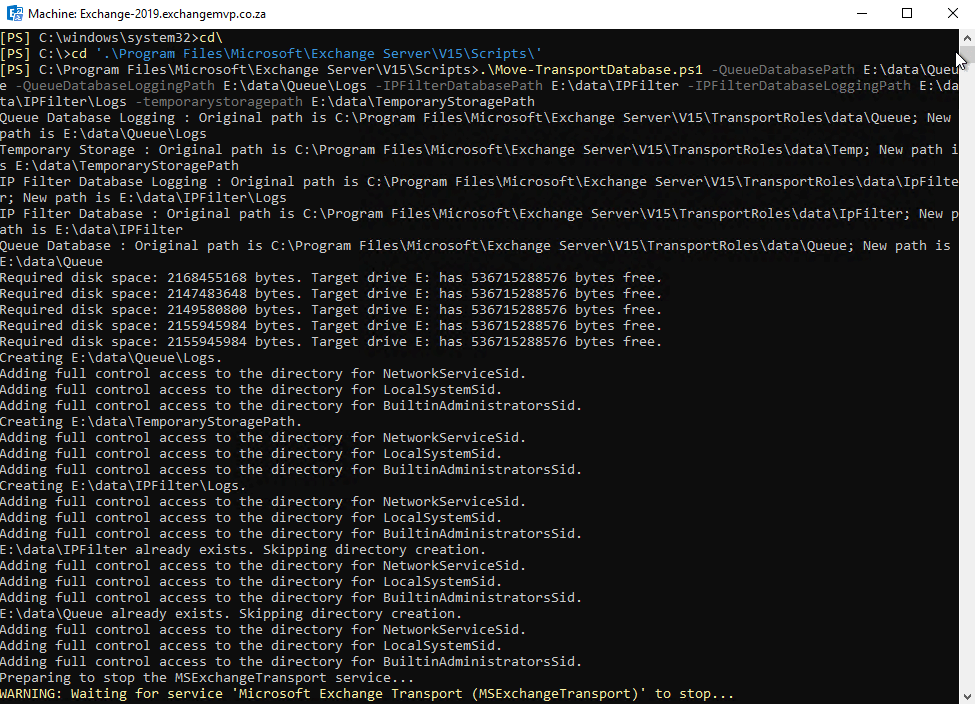
Continued…
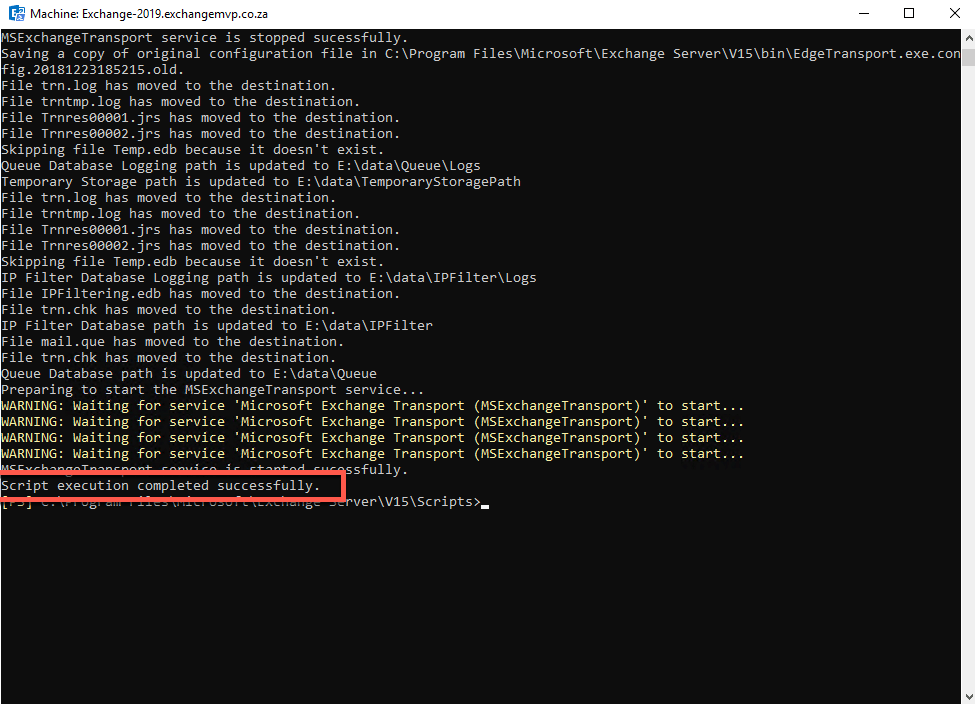
Now that the first part is done, we can run the following 5 PowerShell commands below to move the other logs:
The below commands show my server name Exchange-2019, change it to your server name.
- Set-TransportService –identity exchange-2019 -ReceiveProtocolLogPath “E:\TransportLogs\ProtocolLog\SmtpReceive”
- Set-TransportService –identity exchange-2019 -SendProtocolLogPath “E:\TransportLogs\ProtocolLog\SmtpSend”
- Set-TransportService –identity exchange-2019 -MessageTrackingLogPath “E:\TransportLogs\MessageTracking”
- Set-TransportService –identity exchange-2019 -RoutingTableLogPath “E:\TransportLogs\Routing”
- Set-TransportService –identity exchange-2019 -PipelineTracingPath “E:\TransportLogs\PipelineTracing”
- Set-TransportService –identity exchange-2019 -ConnectivityLogPath “E:\TransportLogs\Connectivity”
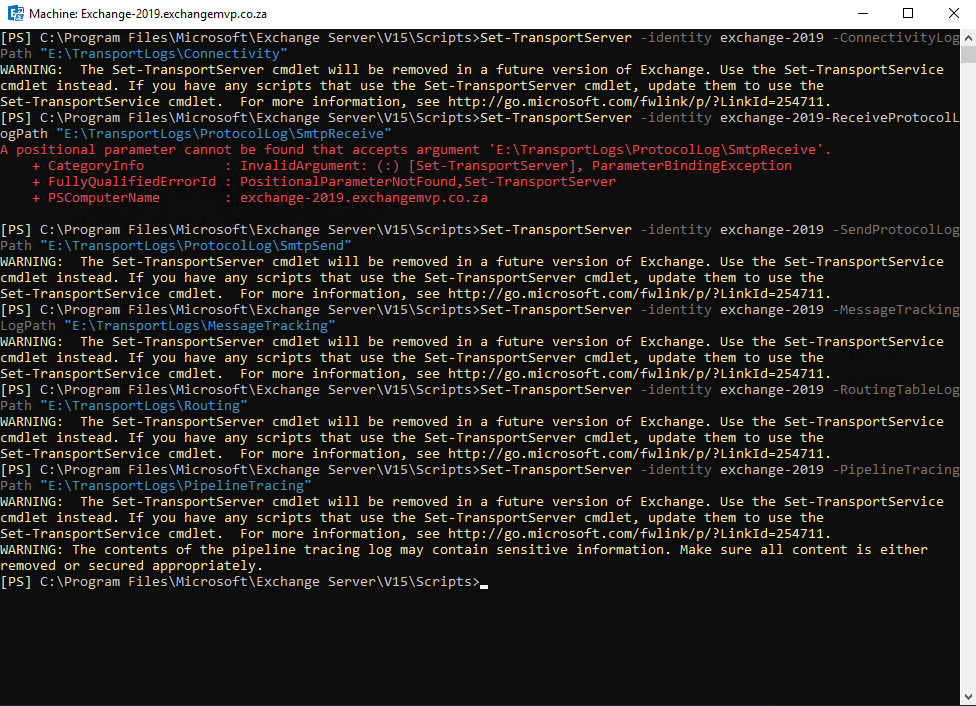
As you can see above I used the old PowerShell command and see I also had a spelling error. I re-ran the commands again with the updated ones (Get-TransportService instead of Get-TransportServer) and fixed the space issue in the command:
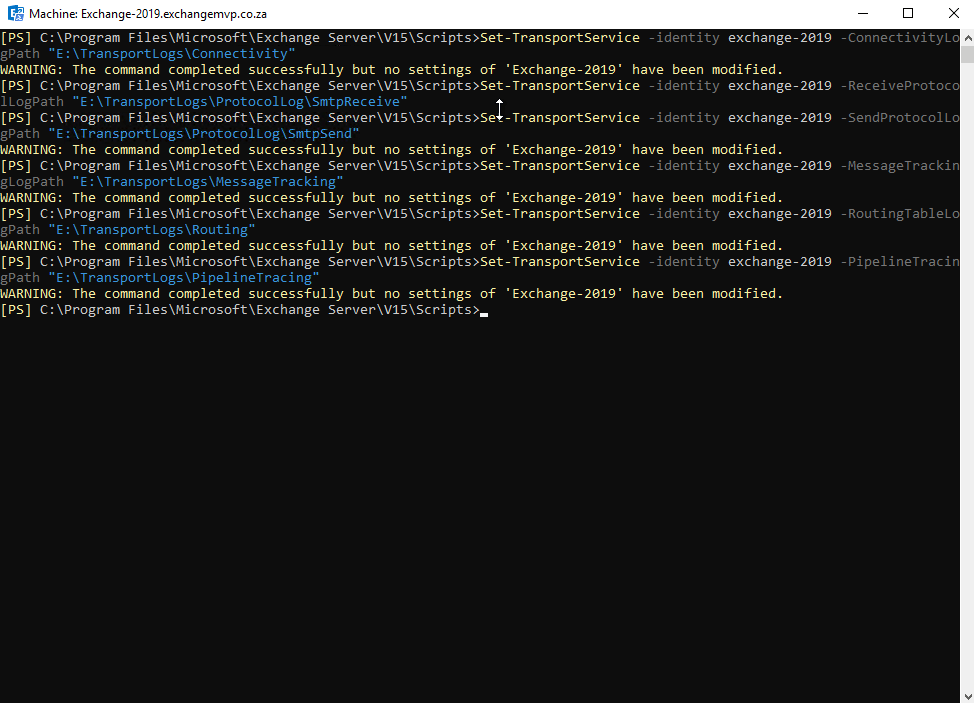
It looks a whole lot better. If you look below, I now have a new folder structure on my E:\ drive:

and if you drill down to the folder where the mail.que is you can see it has been moved:

Hope it helps.
