In Exchange 2019, to have clients connect without error from the outside, one of the URL’s that need to be updated is the Autodiscover record.
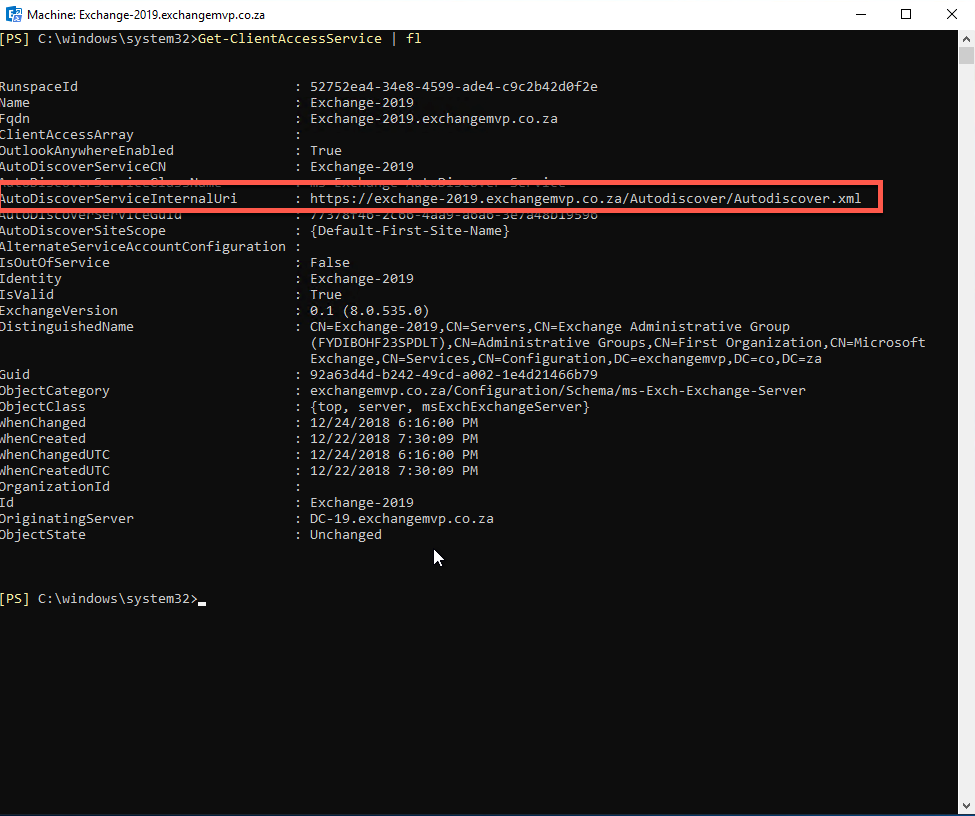
The update process is similar/the same as Exchange 2016 and can be done with a single PowerShell command. You can first check what the URL is set to by running this command:
- Get-ClientAccessService | fl

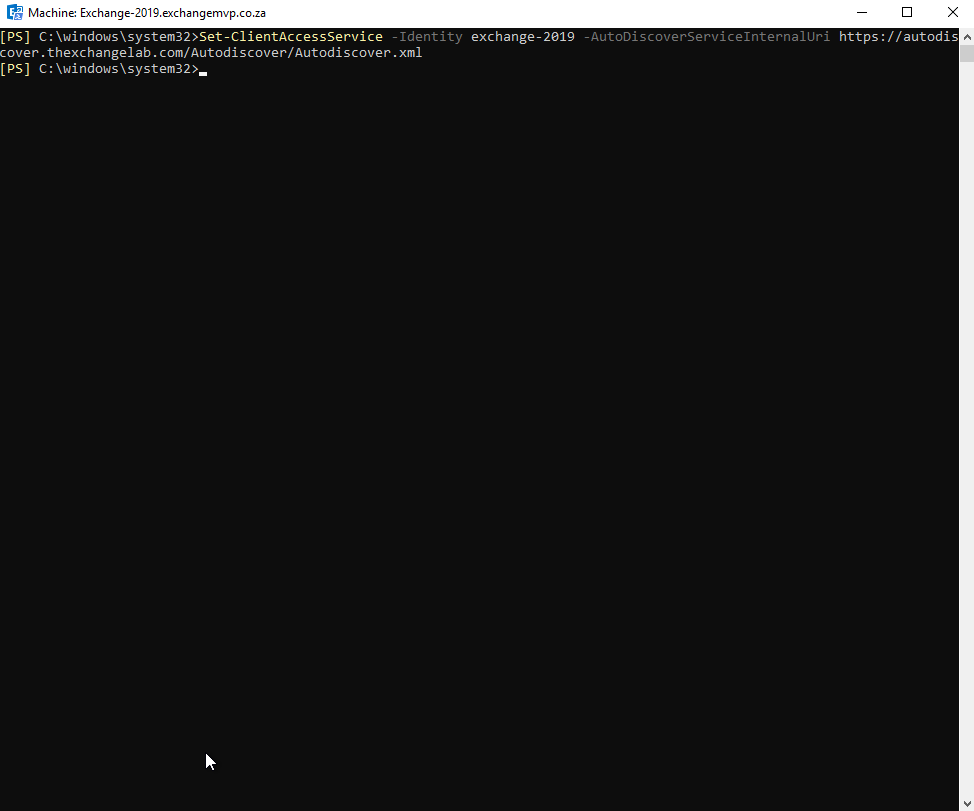
Now you can update the URL using this command:
- Set-ClientAccessService -Identity <ServerName> -AutoDiscoverServiceInternalUri https://autodiscover.domainname.com/Autodiscover/Autodiscover.xml

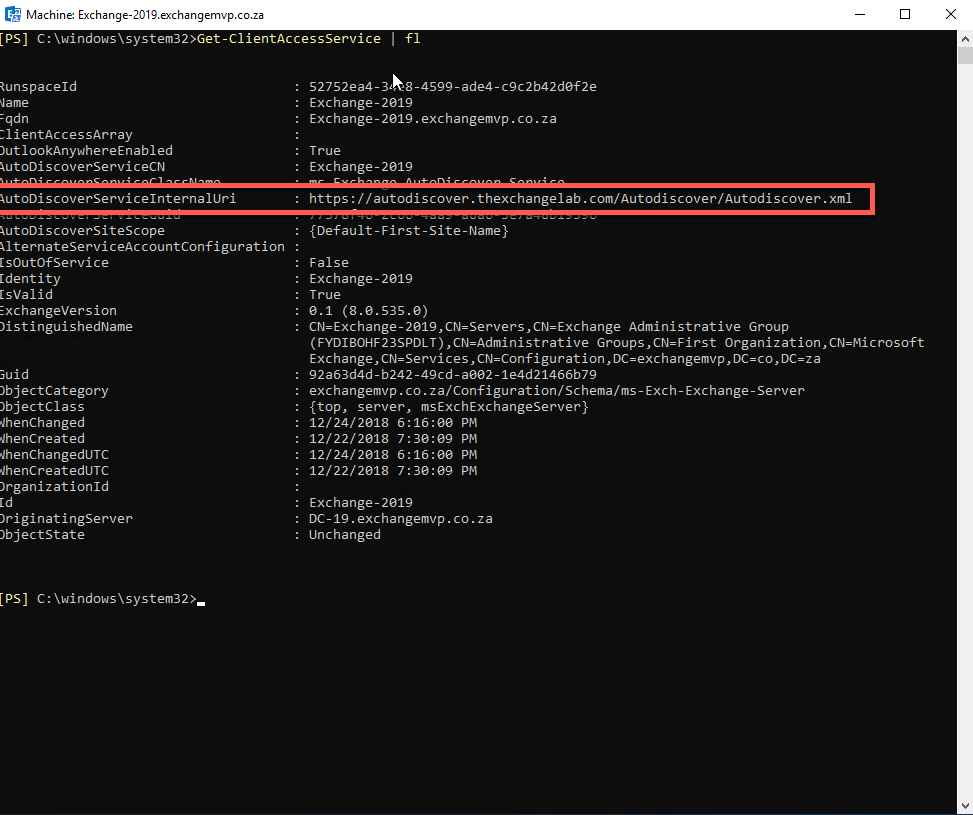
It completes very quickly, you can then re-run the same command as in step 1 to verify the change:

Hope it helps.
