In Exchange 2019, like previous versions, you can check your edition of Exchange by running the following command:
- Get-ExchangeServer | fl
![Exchange 2019 - assign services to an ssl certificate Exchange 2019 - assign services to an ssl certificate](https://everything-powershell.com/wp-content/uploads/2018/12/Edition1.png)
or by adding another section to the script:
- Get-ExchangeServer | fl *Edition*
![Exchange 2019 - assign services to an ssl certificate Exchange 2019 - assign services to an ssl certificate](https://everything-powershell.com/wp-content/uploads/2018/12/Edition2.png)
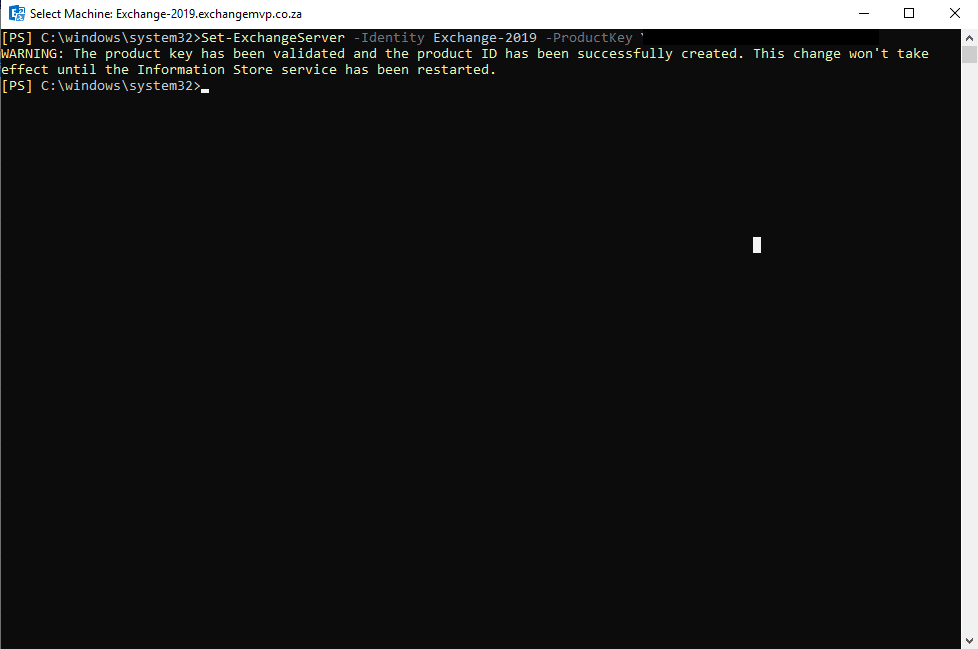
You can see the one command gives you less information than the other, to change the edition, you can license the server with a valid key using the following PowerShell command:
- Set-ExchangeServer -Identity <ServerName> -ProductKey XXXX-XXXX-XXXX-XXXX
![Exchange 2019 - assign services to an ssl certificate Exchange 2019 - assign services to an ssl certificate](https://everything-powershell.com/wp-content/uploads/2018/12/Edition3.png)
The server has now been licensed, however you need to restart the Information Store or reboot.
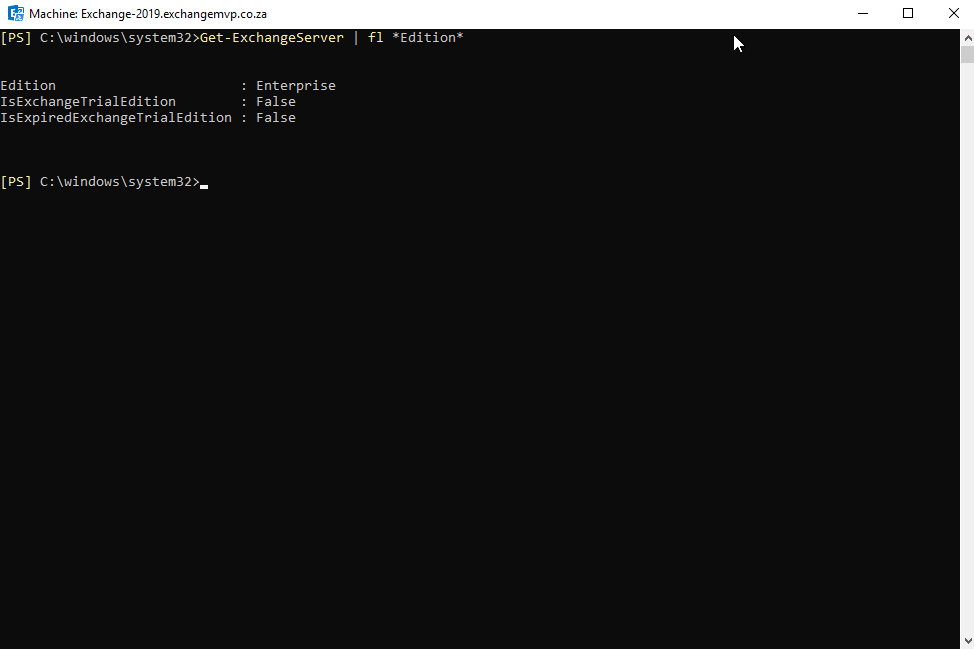
We can now run the same command as in step 2 and we can now see the status has changed from an evaluation version to Enterprise:
![Exchange 2019 - assign services to an ssl certificate Exchange 2019 - assign services to an ssl certificate](https://everything-powershell.com/wp-content/uploads/2018/12/Edition4.png)
Hope it helps…